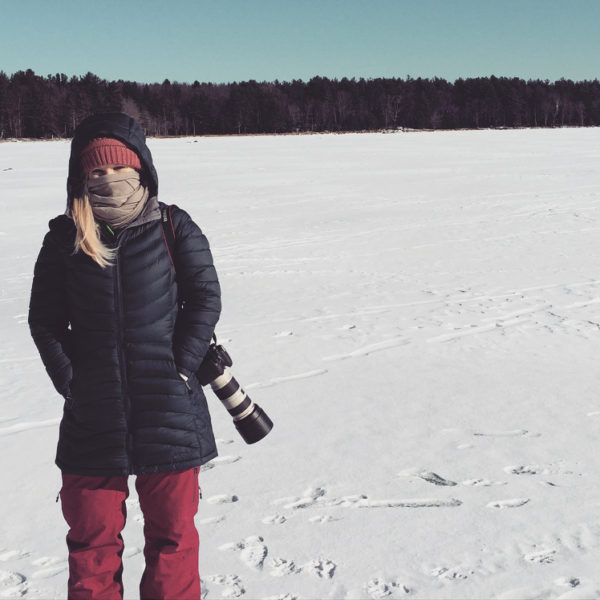
So, you’re thinking about buying a nice camera but are on a budget. I hear you. I didn’t have a lot of extra cash laying around when I got started either. Luckily, you don’t need thousands to buy a nice camera and a few accessories. In this post, we’ll talk about buying a great DSLR camera without breaking the bank and will have you stepping up your photo game in no time!
Some considerations BEFORE buying a DSLR
Now, before we take the plunge into the DSLR (digital single lens reflex) world, ask I would recommend that you ask yourself what your photography goals are.
Are you wanting to snap quick shots and easily edit photos of your friends, your food, selfies, etc.?
For your basic day-to-day photography, you can get really great photos on your smartphone/iPhone. If you don’t have the latest model, upgrade it. I recommend doing this before investing in a camera.
Since you came here for advice on a camera, this miiiight not be what you want to hear, but I always say, “the best camera is the one you have with you.”
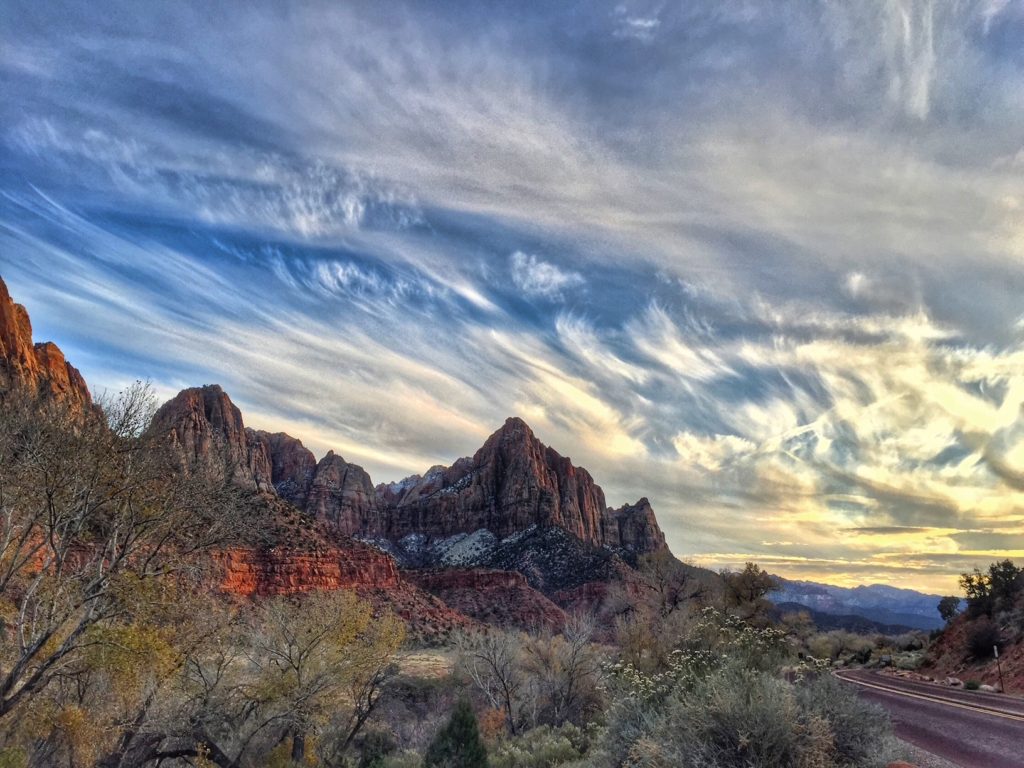
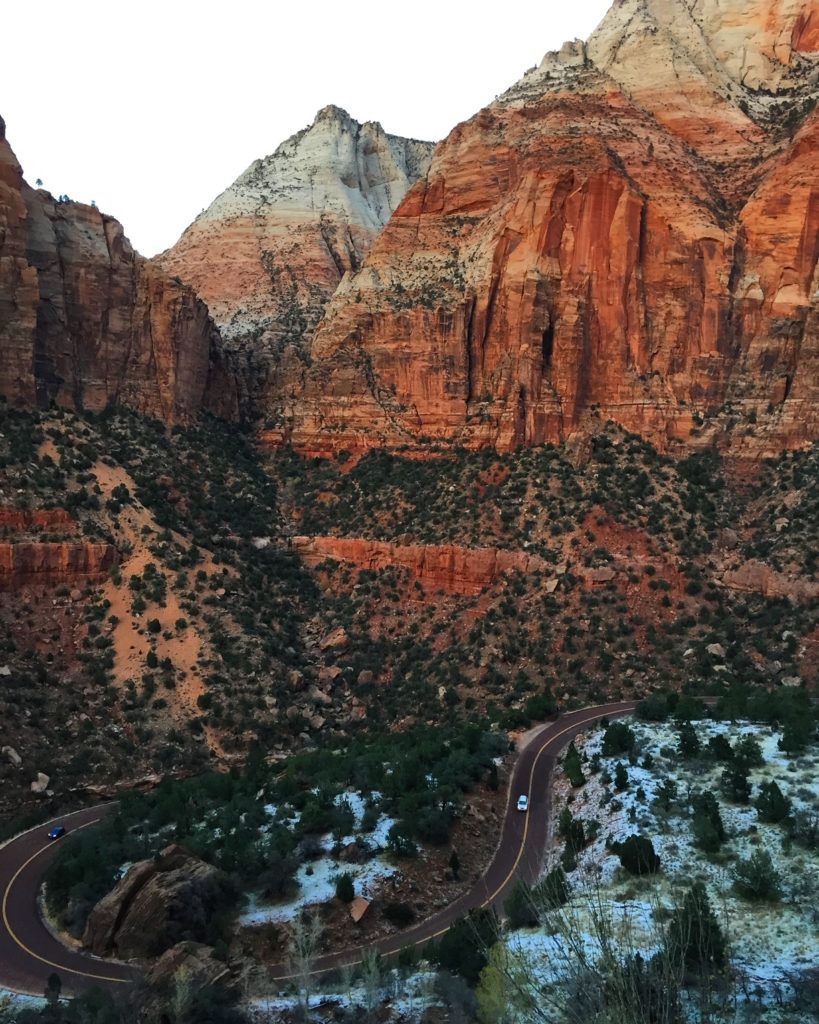
That’s usually your phone!
The truth is, DSLRs are bulky, heavy, and require some legwork when it comes to retrieving your photos for editing. Then, you’re likely going to transfer those edited photos BACK to your phone for posting.
Shooting with a DSLR adds several steps to the photography process that shooting and editing on a phone do not entail.
It can also be frustrating transitioning from shooting on a phone that determines the equivalents of aperture and shutter speed for you.
Because of this, you might get really dark or blurry photos with a DSLR initially and think your camera isn’t working right. I speak from experience, lol.
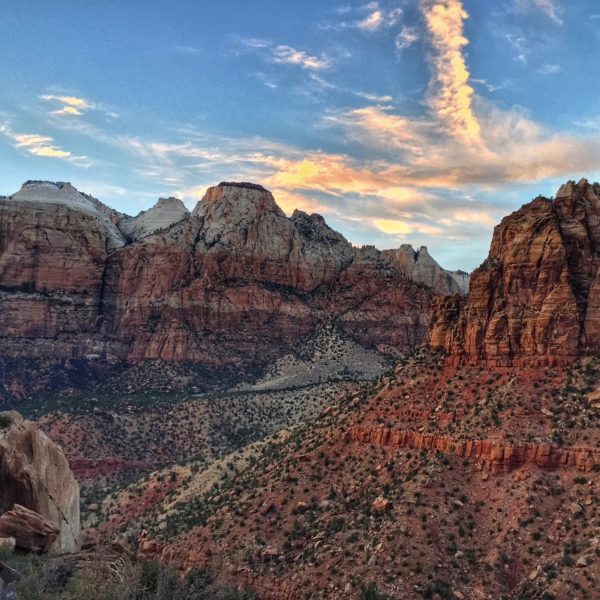
The truth is, smartphones have taken the need to learn photography skills away and made everyone a photographer as soon as they snap a photo.
Now, I am NOT trying to discourage you. I just want you to know what to expect and don’t want you to spend $1000+ on a camera only to get frustrated by it and not use it.
When I decided on a DSLR, I had been taking landscape photos with my phone and felt like I could do “so much more” with a DSLR.
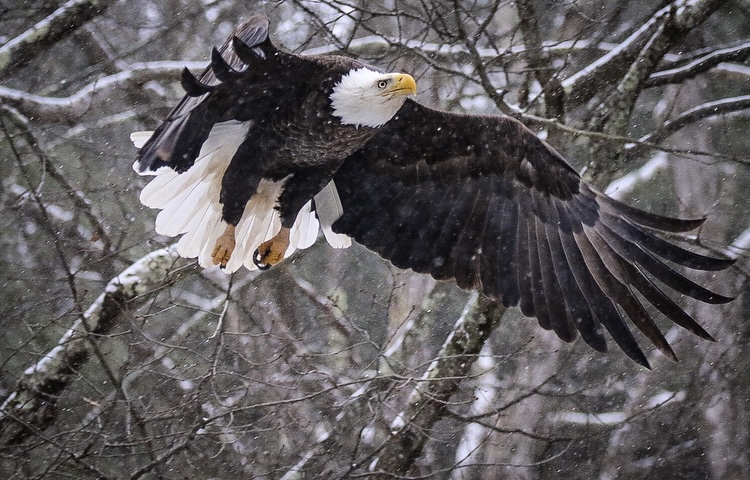
I then moved on to bird photography and needed a telephoto lens and fast shutter speed to catch birds in flight at a distance. For what I wanted to capture, I felt I needed different equipment.
Still to this day, I OFTEN shoot on my iPhone. I can take quick, easy photos of food, hotels, outfits, etc., edit those photos, and never need to go into my camera bag. However, for trips to National Parks, when birding, or taking family portraits for clients, I always break out my DSLR.
So, just think about what it is that you want out of a camera and out of your photography and make a decision that best suits your needs rather than just being a gear junky 😛
Alllll that being said, if at the end of the day you’re like, no, Jamie, I want professional photos that an iPhone just can’t get me, then let’s get you set up!
Getting Started on a Budget
Canon Rebel Series
I always recommend the Canon Rebel series to anyone wishing to get started with DSLR photography. It’s easy to use and a great starter for learning DSLR settings.
My first camera was a Canon Rebel T6i and then upgraded to a Canon 7D for birding photography. My Rebel gave me a great foundation and took me a long way.
The Kit
I always recommend “kits” for first-timers. A kit will include your camera body, at least one lens (if not two), and various combinations of other equipment such as an SD card, battery, camera bag, camera strap, external flash, etc.
This is awesome because you get all of this for around $1000. I know that can still be pricey, but I recommend this over a point-and-shoot camera (those cameras where the lens zooms in and out of the camera body) or a high-end, professional model.
A kit will get you used to changing out your lens and learning how to adjust your aperture, shutter speed, etc.
The two I’ve listed above are the Rebel t8i and the Rebel t7. The ‘i’ series (t7i, t8i, etc.) will have a few more capabilities than the regular series (t7, t8).
The differences are minor, but it made enough of a difference to me to go with the ‘i’ series when I got started. I’ll let you do your research and decide what you think you might need here.
Once you get comfortable with the items in your kit, you may find you want to add more to your camera bag.


Growing Your Camera Bag with Lenses
Canon 35mm (~$450) & 50MM (~$125) prime lenses
A prime lens is a fixed lens. I’m sure most cameras you’ve played with the lens is a zoom lens, meaning you twist it and it zooms in and out. A prime lens does not do that. Why in the world would you want a lens that doesn’t zoom, you ask. Well, these lenses often offer a richer, better photo because there aren’t as many moving parting (for the sake of keeping the explanation simple.)
A 35mm prime is one of my most used lenses. A 35mm is going to be a great addition to your camera bag for getting those breathtaking landscape shots and is also great for portraits.
Before I could afford a 35mm, I got an inexpensive 50mm prime ($125) on Amazon. I’ve listed it above.
Just know you’ll be more zoomed and may have to physically move yourself away from your subject to get the right composition. I have a photographer friend who jokes that when using a prime lens, his legs are the zoom 😛

CANON 70-200MM L-SERIES LENS (~$940)
The Canon 70-200mm L-Series was the first expense lens I bought when I started photographing bald eagles.
This is going to get you quite a bit closer to your subject matter but still give you the opportunity to back out a bit to capture some of the surroundings as well.
Definitely a great, high-quality intermittent lens to have in your camera bag.
Canon EF 75-300mm (~$199)
You don’t have to get L-Series lenses as they are professional grade and more expensive than the standard lenses. For beginner photography, you’ll likely not be able to tell the difference. I’ve listed both the L-Series and a standard lens here to give you both the splurge and budget-friendly options.
Canon 100-400 L-series Lens (~$2100)
What my friends call my “Hubble Telescope,” this lens has been a game-changer for me when photographing wildlife. I dream of someday owning a 600mm prime lens and when you visit the National Parks, you will see them everywhere.
They are so big they have to be carried around on tripods. That’s where the 100-400mm is different. It’s got some weight to it, but it’s a lot easier to carry than a 600mm prime lens and it also isn’t going to set you back $8k+ (yikes!).
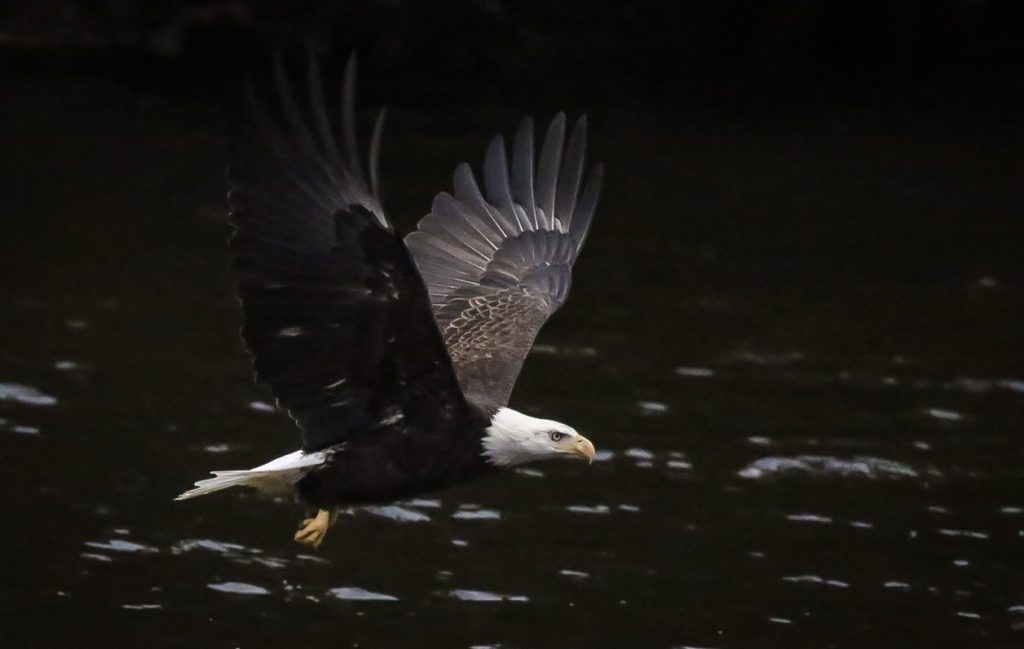
Note: You don’t have to invest in a crazy telephoto lens if you don’t need it. Shooting sporting events or wildlife will make you want to be able to get close up from a distance.
If you enjoy landscapes, or portraits, or macro photography, a telephoto lens might never make it into your bag and that’s ok.
Don’t spend the money unless you’re noticing you can’t get as close to your subject as you would like with the equipment you already have.
Tripods
You’ll also want a good, easy-to-use tripod. I mention easy to use because some of them can be a real pain in the butt with all of their adjustments and such. Get something that isn’t complicated and you’ll actually use it more.
Camera Bag
There are also a variety of camera bags out there that have cushioned compartments.
Find one that you really like the look and style of. As you can see from the ones I’ve listed above, styles vary from bags to backpacks to purses.
Other Considerations
I also would like to mention that I’ve ordered all of my camera equipment from Amazon solely because I wanted to have quick delivery options.
However, I also wanted to mention that B&H gets great reviews as a camera store and often has pretty good deals. Be sure to shop around when you’re looking for your kit.
Also, I’ve listed all Canon equipment in this post solely because I shoot with Canon and I’m a purist.
However, consider buying additional lenses from Sigma or Tamron to see if you can get the same lens for a better deal.
Go Forth and Capture!
I hope this post gives you a good starting point for buying your camera equipment.
Photos are memories and I believe in investing in those memories.
I wish you luck in your creative endeavors! I am a message or email away if you need support!
In case you missed the last posts, catch up here!
How to Plan an Epic Adventure in Yellowstone and Grand Teton
10 Quick Packing Tips for Summertime in Yellowstone
What You Need to Know About Eloping in Grand Teton National Park


Leave a Reply